Power Supply & Lower Compartment
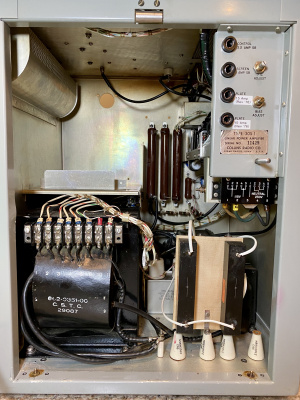
I had to balance my wish to dismantle and scrub everything, against the known-fact that T202 had broken leads - I wanted to do "enough", but not so much that further damage occurs. In the end, I disassembled stuff along the right-hand side, leaving the items down the left-side and back un-touched, for gentle wipe-in-place cleaning. This choice arose from difficulty/ease of disassembly, and the location of obvious griminess and sludge.
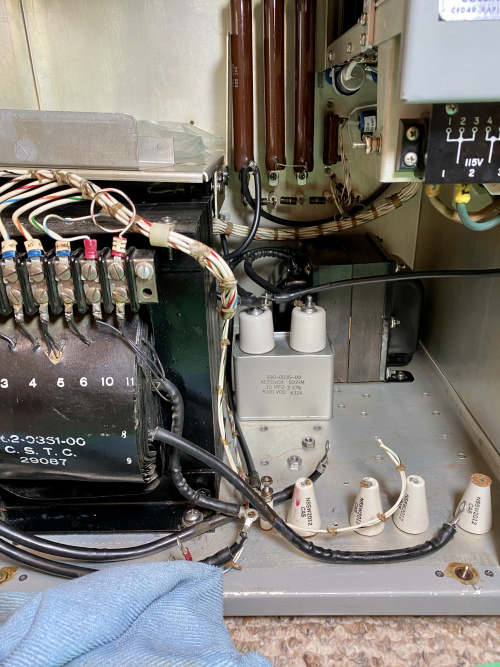
The messiest component was HV cap C206 - it had sticky grunge all over it, which looked to me like spewed electrolyte, from above - there certainly were a few Relay Shelf electrolytics which were changed before me, and could have caused this collateral damage! I cleaned it off, polished all vitreous components and wiped them medically-clean with alcohol - I was rewarded with no measurable leakage (to 50Mohm anyway). The cabinet floor at the right front and down along the right side also had more of this tarry gunk - Simple Green and elbow-grease took care of it. A troubling amount of hardware was also missing, and HV nuts were loose or only finger-tight - again, signs that I must again be extra-attentive in this lower compartment too.

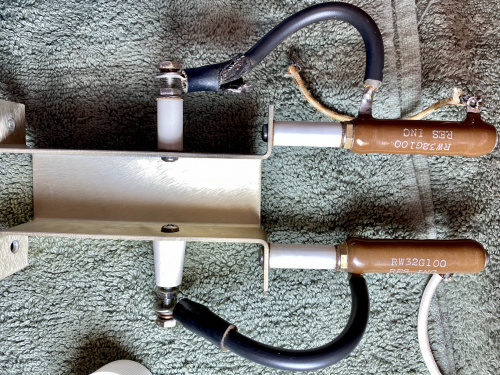
I swear, the previous owner must have had the Fire Department on speed-dial!! Here's a beauty - an awesome high-voltage blow-through coming straight off the HV transformer :-O Un-repaired too... but wait, there's more! The two insulators are different, meaning a previous repair in this area. And the crowning jewel: fabric-insulation off the top of the resistor, with crummy soldering... pure gold! I sure hope my repairs will be solid.

The laced pair of white+whatever cut wires are the 120VAC primary supply wires, for the now-removed T202. I covered the ends in heatshrink, then labelled the wires in case a future use appears. And now, C206 looks resplendent after cleaning :-)
The date-code on C206 indicates it was made around mid-June 1963. That might place my amplifier's year of manufacture at 1964. I wonder if this amplifier began life on a crisp wintry morning, a proud new owner eager to add some DX with his Christmas gift?!?! :-)

Those long 1N4872 diodes have a date-code of 1976... I think they've survived several battles after 4-1/2 decades. I can't really test them (forward-drop is 23V), but I find they are not shorted... I'll keep'em. Basic DC tests show no shorts-to-ground, just the bleeder-values. All hardware is snug. Gentle wire-tugs show nothing coming apart :-O